Industrial Machinery Company

7 Tips for Choosing an Industrial Touch Display

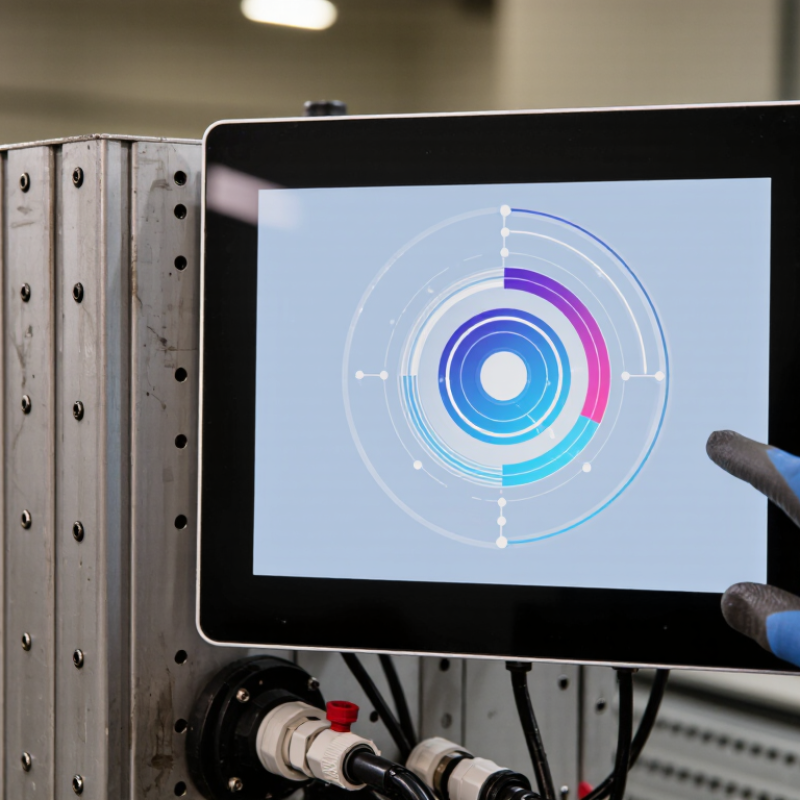
Industrial Touch Display selection matters in places where dust, vibration, gloves, and long shifts challenge ordinary screens. A bright showroom image tells little about performance beside a production line. The right panel must remain readable under overhead lights, respond reliably to gloved hands, and fit the machine’s mounting space. Small details matter.

This guide covers seven practical considerations, from screen size and brightness to touch technology, durability, connectivity, and support. Start with the actual work environment: note ambient light, temperature changes, cleaning routines, and how operators use the controls. Then compare specifications with real operating needs, rather than choosing the highest number on a datasheet. More is not always better. High brightness may add cost or heat when a display sits indoors. A sealed enclosure may still need careful review around connectors and cable entry points.

We also consider lifecycle and integration, because a display that works on a test bench can be awkward to service inside a cabinet. Check interface compatibility, mounting dimensions, expected availability, and supplier documentation. Ask for supporting evidence, such as environmental ratings or test reports, and confirm what those claims cover. Specifications can be incomplete, and vendor terminology is not always consistent. That deserves a second look. These tips cannot replace hands-on testing, but they can help teams ask better questions before purchase.
7 Tips for Choosing an Industrial Touch Display

Assess the Operating Environment and Application Requirements

An industrial touch display should be selected for the place it will actually operate, not just its specification sheet. Check the expected temperature range, humidity, dust, vibration, and exposure to cleaning agents. Dust changes everything. A display beside a cutting station may need a sealed front, while a control room may prioritize low-glare viewing. Sunlight through a nearby window can make an otherwise bright screen hard to read.

Consider what operators will do on the screen. Will they wear thick gloves, use a stylus, or touch it with damp hands? These details affect the suitable touch technology. Check that buttons remain easy to press and labels stay readable from the operator’s usual position. A large display is not automatically better; it can crowd a cramped panel or place controls beyond comfortable reach. Not always obvious.

Match brightness and viewing angle to the installation. A screen facing a window may need higher brightness or a different mounting angle. In a washdown area, confirm that the stated protection level applies to the installed configuration, including its connectors. Then test a sample unit in the real setting. Watch for glare, missed touches, and awkward cleaning. I might still underestimate how much gloves change the interaction, so operator trials are worth the extra time.

Assess the Operating Environment: Example Temperature Ranges

Compare illustrative ambient operating-temperature design ranges for common industrial applications. Confirm actual conditions and required specifications for your installation.

Choose a Touch Technology That Fits the Task

Tip 1: List what touches the screen. Bare fingers, thick gloves, a stylus, or wet hands can change which technology works reliably. Projected capacitive screens support responsive finger input and multitouch, but some gloves may not register. Resistive screens respond to pressure and can suit stylus use or gloved operation. They may feel less fluid. There is no perfect panel.

Tip 2: Consider the environment. In a food-processing area, splashes and frequent cleaning matter; in a workshop, dust and accidental contact may matter more. Infrared touch can work with gloves, but dust or debris along the screen edge may interfere. Ask suppliers to test the display with your actual gloves, cleaning routine, and interface. A quick showroom demo is not enough.

Tip 3: Match input precision to the task. Large buttons help operators wearing gloves, while small controls may demand accurate stylus input. Check response near the screen edges, too. Test it under bright lighting and with the protective cover installed. One detail is easy to miss: a technology may work well, while poorly spaced controls still cause errors. Choose based on observed use, then document any limitations before installation.

Match Screen Size, Resolution, and Brightness to Users

Choosing an industrial touch display starts with the person using it, not the equipment’s available mounting space. A large screen can show more information, but it may force operators to reach across a panel. Watch someone perform the real task, including gloved hands and quick movements. Gloves change things. A compact display may suit a single-machine control station, while a wider screen helps when users compare alarms, readings, and process diagrams side by side.

Resolution should make essential details readable at the expected viewing distance. For example, small status labels that look crisp on a desk may blur from across a production floor. Higher resolution is not automatically better; interface scaling and touch targets matter too. Brightness needs similar care. A display near a sunlit loading door may need stronger output than one inside a shaded control cabinet. Yet excess brightness can cause glare and fatigue in dim rooms. Check the screen at the actual viewing angle and under changing light. Check it live. One detail is easy to miss: people often tilt their heads or step closer when text feels cramped. That is useful evidence, though it can also expose a poor interface rather than a poor display.

Check Durability, Connectivity, and System Compatibility

An industrial touch display must suit the conditions around it, not just look rugged in a product sheet. Check the front-panel protection, operating temperature range, and resistance to vibration or impact. Dust gets everywhere. If cleaning involves sprays or damp cloths, confirm the rating applies to the installed unit and its seals, not only the screen. A high ingress rating does not make every connector waterproof.

Connectivity deserves a close look before installation. List the ports your equipment actually needs, such as Ethernet, USB, serial, or video, then check their locations and cable clearance. A connector tucked behind a bracket can be surprisingly awkward to reach. Look for strain relief and suitable cable lengths, too. Specs can mislead. Test the display with your real peripherals and network setup.

System compatibility includes more than matching an operating system. Confirm that drivers support the intended OS version, touch input works at the display’s native resolution, and the mounting pattern and power supply fit the existing panel. Try the actual application with the same gloves operators wear. Test it onsite. A short trial can expose missed touches, sluggish responses, or awkward menus. It may not catch everything, but it is more useful than assuming a compatible port guarantees a compatible system.

Compare Lifecycle Support, Certifications, and Total Cost

Tip 1: Compare lifecycle support, not just the warranty period. Ask how long replacement panels, touch controllers, and firmware updates will remain available. A display may still power on after eight years, yet become difficult to repair. Uptime Institute’s 2024 Annual Outage Analysis found that 54% of respondents’ most recent significant outages cost more than $100,000. The survey concerns data centers, not factory displays, but it shows how quickly downtime costs can escalate. Small detail. Get repair-time commitments in writing.

Tip 2: Check certifications against the actual installation. IEC 61000-6-2 addresses industrial electromagnetic immunity; an IP rating indicates protection against dust and water under specified test conditions. Neither proves suitability for every environment. Match test evidence to your line’s washdown, vibration, temperature, and electrical noise. Ask for certificates and test reports, not just a logo on a datasheet.

Tip 3: Calculate total cost over the expected service life. Include purchase price, mounting, cables, integration, spare units, cleaning, repairs, and the labor required for replacement. Estimate the cost of a screen failure during a busy shift, too. A cheaper unit can cost more if it needs frequent service. The estimate will never be perfect; document assumptions and revisit them after real maintenance data comes in.