Industrial Machinery Company

Top 10 Power Tiller Parts Every Buyer Needs

Power tillers remain practical workhorses for small farms, vegetable plots, and uneven fields. Their value depends on more than engine power. It depends on the condition, compatibility, and availability of Power Tiller Parts.

The FAO’s 2022 report, The State of Food and Agriculture: Leveraging Automation in Agriculture, links agricultural automation with higher productivity, reduced physical strain, and improved operational resilience. However, the report also warns that access, affordability, skills, and maintenance can limit these benefits. A powerful machine is not useful when a worn belt, damaged tine, or weak bearing stops work during planting season.

Small parts matter.

Field experience shows that buyers often focus on horsepower and price first. That approach can create expensive delays later. A correctly sized rotary blade may improve soil preparation, while a reliable clutch cable can make daily control safer and smoother. Seals, filters, chains, wheels, and gearbox components also influence fuel use, vibration, and service life. Fit beats fashion.

This guide examines the top ten Power Tiller Parts that buyers should evaluate before ordering. It considers material quality, machine compatibility, replacement frequency, maintenance access, and supplier reliability. Product specifications should still be checked against the original manual. Regional soil conditions can change the answer. That is an important limitation, and it is easy to overlook. Reliable purchasing requires more than a low quotation; it requires traceable specifications, consistent manufacturing, and realistic after-sales support. The following list turns those practical concerns into a clearer buying framework.
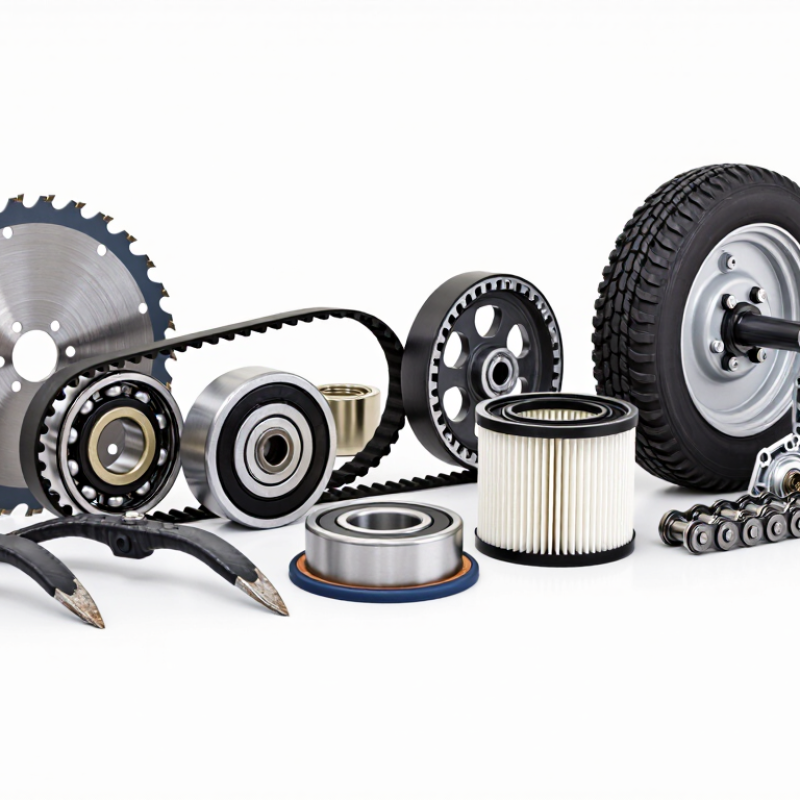
Top 10 Power Tiller Parts Every Buyer Needs

Power Tiller Engine and Fuel System Parts

Top 10 Power Tiller Parts Every Buyer Needs

Power tiller performance often begins with the engine and fuel system. In field repairs, I check these parts before adjusting anything else. The ten most practical replacements include the air filter, spark plug, carburetor, fuel tank, fuel line, fuel filter, fuel cap, intake gasket, piston ring, and recoil starter assembly.

A clean air filter protects the engine from dust. A correctly gapped spark plug supports reliable starting. The carburetor must deliver a stable fuel and air mixture. Small blockages can cause uneven running. Inspect fuel lines for cracks, stiffness, or soft spots. Replace them when they feel brittle. A fuel filter should match the engine’s flow direction and connection size. The tank and cap also deserve attention. A damaged cap may prevent proper ventilation. Then the engine may stall after several minutes.

I once replaced a carburetor too quickly. The real problem was a loose intake gasket. That mistake reminded me to test before buying expensive parts. Check piston rings when the engine smokes heavily or loses compression. Measure wear where possible. Do not rely only on appearance. For cold starts, a dependable recoil starter assembly matters, especially in dusty fields. Buyers should compare dimensions, gasket thickness, thread size, and material quality. Service records help, but they are not perfect. Fresh fuel, correct storage, and regular filter cleaning can prevent many unnecessary replacements.

Top 10 Power Tiller Parts Every Buyer Needs

Power Tiller Engine and Fuel System Parts

The chart shows typical inspection or replacement intervals in operating hours for commonly used small gasoline power tiller parts. Actual schedules vary by engine design, fuel quality, soil conditions, and the manufacturer’s service manual.

Essential Transmission, Clutch, and Drive Components

Top 10 Power Tiller Parts Every Buyer Needs

Essential Transmission, Clutch, and Drive Components

A power tiller works through coordinated movement, not one powerful part. In field inspections, I check the gearbox housing, gear set, input shaft, output shaft, bearings, and oil seals first. These transmission parts carry heavy loads near dusty soil and uneven ground. A cracked housing can misalign gears. Worn bearings often create a rising mechanical hum. Do not ignore that sound.

The clutch system also deserves careful attention. Essential parts include the clutch plate, pressure spring, release bearing, and control cable. A smooth clutch should engage without sudden movement or burning odor. Inspect the friction surface for glazing, deep grooves, or oil contamination. I once replaced a cable when the real fault was a worn release bearing. That mistake cost time. It also reinforced the need for complete diagnosis.

The drive side includes the drive belt, chain, sprocket, axle coupling, and related tension hardware. These components transfer engine power to the wheels or tilling mechanism. Check belt flexibility and chain slack before buying replacements. Match tooth count, shaft diameter, material strength, and operating clearance. Cheap parts can fit briefly but fail under wet soil and repeated shock. Still, specifications do not tell everything. Actual alignment and maintenance habits matter just as much. Always compare the old part with the machine’s service measurements.

Steering, Wheel, and Traction Parts for Field Control

Steering control starts with a sound steering wheel, column, and linkage. These parts transfer the operator’s movement to the front axle or steering mechanism. Check for looseness before entering a field. A small amount of play can become serious near a ditch or stone. Grease points should move smoothly, while bent rods need replacement rather than forceful straightening.

Wheel hubs, bearings, rims, and axle pins also shape field control. Worn bearings may create a side-to-side wobble under load. Inspect the hub after long workdays, especially when the soil is wet and sticky. Tighten wheel fasteners in a cross pattern and follow the equipment manual’s torque guidance. I once ignored a minor rim crack. It did not fail immediately, but the vibration became impossible to overlook.

Traction depends on tire condition, tread pattern, wheel spacing, and correct ballast. Agricultural tread should bite without tearing the soil excessively. Overinflation can reduce grip on loose ground, while low pressure may damage the sidewall. Wheel weights can improve stability, but excessive weight strains axles and increases compaction. Test the tiller at low speed after replacing traction parts. It should track straight, turn predictably, and stop without unusual pulling. I still recheck steering after adjustment; alignment can look correct in the workshop and change under field load.

Top 10 Power Tiller Parts Every Buyer Needs - Steering, Wheel, and Traction Parts for Field Control

No. Part Primary Function Key Buying Specifications Field-Control Benefit Inspection or Replacement Guide
1 Steering Handlebar Provides the operator interface for changing direction, controlling depth, and stabilizing the tiller. Check mounting-hole spacing, handlebar height range, adjustment points, tube diameter, and compatibility with the control cables. Correct height and rigid mounting improve operator control and reduce unwanted lateral movement. Replace if bent, cracked, excessively corroded, or loose at the mounting bracket. Tighten fasteners before each operating season.
2 Steering Control Cables Transmit lever movement to the clutch, throttle, brake, or steering mechanism, depending on the tiller design. Match cable length, inner-wire travel, end fittings, housing diameter, routing direction, and control type. Smooth, correctly adjusted cables help prevent delayed engagement and uneven turning response. Replace when the housing is kinked, the inner wire is frayed, movement is stiff, or the control cannot hold its adjustment.
3 Steering Lever and Pivot Assembly Controls directional engagement or turning assistance through a lever, pivot, linkage, or differential mechanism. Verify lever geometry, pivot diameter, spring position, linkage length, and left/right configuration. Positive engagement makes headland turns and row alignment more predictable. Inspect for excessive play, worn pivot holes, damaged return springs, and incomplete engagement. Replace worn pins and bushes promptly.
4 Drive Wheels Transfer engine torque to the ground and support the tiller during transport and field work. Confirm outside diameter, rim width, axle-bore diameter, bolt pattern, offset, load capacity, and tread direction. Proper wheel dimensions maintain the designed working depth and reduce wheel slip. Replace when tread depth is badly reduced, the rim is distorted, sidewalls are cracked, or mounting holes are elongated.
5 Agricultural Lug Tires Use angled or raised lugs to grip soil and move the tiller forward under load. Compare tire size, ply or load rating, tube/tubeless construction, lug pattern, and recommended inflation range. Deep, correctly oriented lugs improve traction in tilled soil while limiting wheel spin. Check pressure before use and inspect for cuts, exposed casing, bead damage, and uneven wear. Follow the tire maker’s pressure specification.
6 Wheel Hubs Connect the wheels to the axle and transmit torque while maintaining wheel alignment. Match axle diameter, keyway or spline arrangement, wheel-bolt pattern, hub width, and retaining hardware. A secure hub prevents wheel wobble and keeps both wheels tracking consistently. Inspect keyways, splines, threads, and hub faces for fretting or deformation. Replace damaged retaining nuts, keys, or hubs.
7 Wheel Bearings and Bushings Support rotating parts and reduce friction between the axle, hub, and wheel assembly. Measure inner diameter, outer diameter, width, seal type, and bearing load arrangement before ordering. Low-friction, correctly fitted supports reduce drag and help maintain straight-line movement. Check for grinding noise, heat, rough rotation, leakage, or radial play. Grease serviceable bearings according to the maintenance schedule.
8 Axle Shafts and Spacers Carry wheel loads, transmit drive torque, and establish the correct wheel spacing. Verify shaft diameter, usable length, key or spline profile, shoulder location, spacer thickness, and material strength. Correct spacing supports stable tracking and consistent working width in different soil conditions. Replace shafts showing bending, deep scoring, worn keyways, or damaged threads. Confirm axle runout during service.
9 Wheel Weights or Ballast Components Increase wheel loading when additional downward force is needed for traction. Check approved weight per wheel, mounting method, clearance, fastener grade, and compatibility with the axle and tire. Additional ballast can reduce wheel slip in firm or resistant soil, but excessive weight may increase soil compaction. Inspect mounting bolts and retaining clips before every operation. Remove ballast if it causes excessive sinkage or drivetrain strain.
10 Differential or Wheel-Lock Components Allow controlled wheel-speed differences during turns or lock both wheels together for improved straight-line traction. Confirm gear or clutch design, axle configuration, engagement method, tooth or spline profile, and service-parts availability. Reliable engagement improves turning control while a locked setting can help maintain forward drive in slippery soil. Check for delayed engagement, abnormal noise, oil contamination, worn teeth, and incomplete release. Service using the specified lubricant and adjustment procedure.

Buyer note: Always compare the part dimensions, mounting pattern, operating load, and control layout with the tiller’s service documentation before ordering.

Cultivation Attachments and Soil Preparation Tools

Top 10 Power Tiller Parts Every Buyer Needs

Start with the soil. Cultivation attachments determine how evenly a power tiller cuts, loosens, and shapes the ground. Rotary tines break compacted layers and mix organic matter into the topsoil. Adjustable cultivator teeth remove young weeds between crop rows without disturbing nearby roots. A furrower creates clean planting channels, while a ridger builds raised beds for drainage-sensitive crops. These tools should match the tiller’s power, working width, and shaft connection.

Keep it shallow. A leveling blade spreads uneven soil after plowing and helps prepare a smoother seedbed. A harrow attachment breaks small clods and distributes loose soil across the surface. For heavier ground, a moldboard plow turns narrow strips and exposes buried residue.

Soil moisture matters greatly; working wet clay can create hard pans that remain visible weeks later. In practical field checks, a handful of soil should crumble gently rather than smear like paste.

The remaining useful parts include depth-control wheels and adjustable hitch hardware. Depth wheels improve consistency on sloping plots, especially when the operator changes direction often. I once underestimated their value and created uneven furrows across one vegetable bed. That mistake was avoidable. Buyers should inspect tine thickness, bolt quality, guard coverage, and replacement access before choosing an attachment. Compatibility charts and the operating manual deserve careful attention, even when the connection appears simple.

Safety, Maintenance, and Replacement Buying Considerations

Top 10 Power Tiller Parts Every Buyer Needs

Safety, Maintenance, and Replacement Buying Considerations

A power tiller’s ten practical essentials include tines, blades, belts, pulleys, bearings, seals, air filters, spark plugs, clutch cables, and protective guards. Each part affects safe operation. Worn tines can create uneven resistance, while cracked belts may snap under load. Guards matter too. Never remove them for convenience.

The U.S. Bureau of Labor Statistics recorded 475 fatal work injuries in agriculture, forestry, fishing, and hunting during 2023. That figure shows why small machines deserve serious inspection.

Check every replacement part against the machine’s model, shaft size, dimensions, and operating speed. A bearing may look identical but fail quickly if its load rating is wrong. Filters need correct fitment, not just a similar shape. Belts should match length, width, and heat resistance.

The ISO 12100 machinery-safety framework emphasizes risk reduction through design, guarding, and safe maintenance practices. These principles remain useful for tiller owners, even on compact equipment.

Inspect fasteners before each use. Clean soil from cooling areas and air filters. Replace damaged cables before they become difficult to control. I once saw a loose pulley create severe vibration after only one working session. It was easy to blame the engine, but the real issue was alignment. That mistake is worth remembering. Cheap parts can become expensive failures. Keep the old component for comparison, record measurements, and follow the service manual instead of guessing.